January 4, 2019
Recording
Having each of your sessions recorded is a source of powerful, reusable evidence for your decisions.
User Interviews
Recording user interviews where you are simply talking with users is rather straight forward.
In the Field
Use the voice memos app on your phone. After you start recording, ask your participants to “Say their Name and Spell it.” Once each recording is complete, email yourself the recording or put it into a cloud storage service. Save it immediately after each session — learn from my mistakes and don’t wait to go back to your hotel.
Try to conduct these user interviews in your participants’ own environment. At their desk or in their home is best. Take photos of the space and selfies with your participants — they turn out to be great artifacts for building empathy with your product team back in HQ.
When chatting about a user’s current set of tools, I usually try to take screenshots of their computer with my iPhone as they work. Even short videos can work well to demonstrate their current process. Additionally, I’ve come across weird software programs throughout sessions that I was not able to find screenshots and product information online. So take notes and even have your participant open the “About this Program” dialog to make sure you’re tracking all current processes.
Once back from research, upload your audio files to a digital transcription service. It’s significantly more cost effective to have a company like VoiceBase either automatically transcribe sessions to make them searchable in the future rather than wasting a week of your time typing up notes.
In the Lab
In your office or in a third-party research lab, you will have greater control over recording. You will probably receive video files from the lab, as well as audio recordings. In this case, I recommend using more traditional video management platforms, like Frame.io, to document and annotate these artifacts.
Remotely
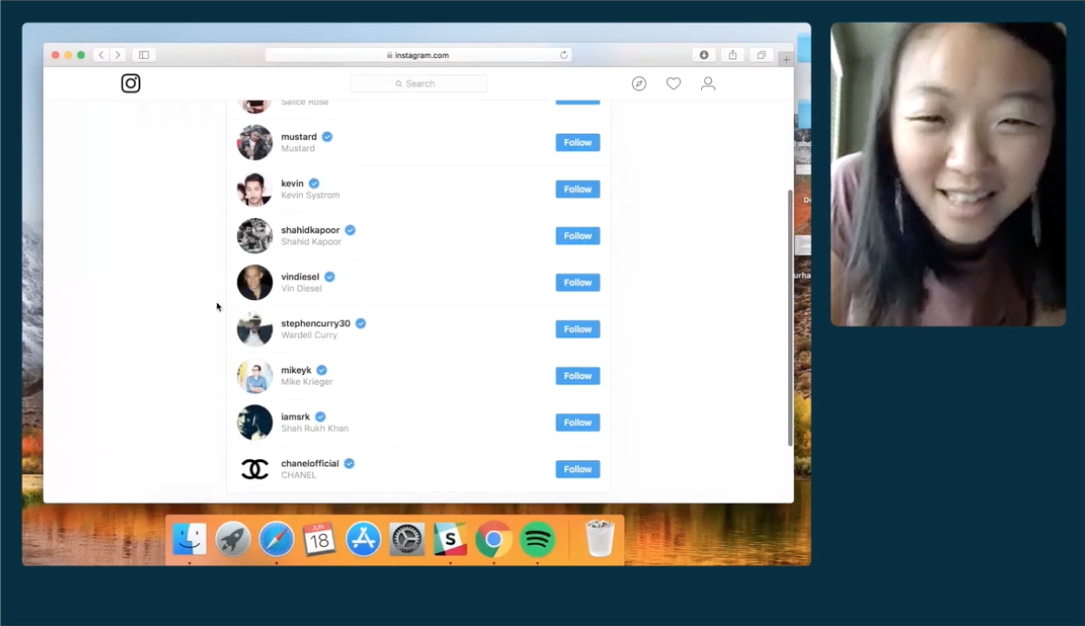
Use Zoom.us for remote video conferencing with your users. It has an unmatched ability to keep connected on the world’s worst WiFi. With Zoom’s cloud recording feature, you can get a completely usable video file and audio files to transcribe and annotate without worrying about saving local MP4s.
If users are showing off how they use mobile apps, I strongly recommend having them sit next to a laptop and tilt the screen to get the phone in view. This lets you see how they move around the app. Combine this with Zoom’s screen sharing features to record both camera angles.
Usability Testing
Desktop
Conducting desktop usability testing sessions has become incredibly simple. I rely heavily on Lookback.io for this process.
Their Chrome extension is extremely easy to install and use. It will record both the user’s screen and the video from their front-facing camera and automatically open a webpage as soon as the session starts. If you’re in person with the user, utilize their “Self-Test” protocol to record the session while you’re seated with them.
- Pro Tip: Use a publicly accessible Google Doc to store an agenda. Have Lookback or your testing service land users there first. This makes it easy to have a research session HQ to store links to different prototypes or tasks. Combine with a Bit.ly link that you can easily remember and say verbally to ensure you don’t end up in “closed window, now what?” scenarios.
If you’re remote, use Lookback’s Live service to conduct a video conference where their screen is recorded. As you take notes, they are timestamped and synced to different points in the recording.
Overall, Lookback’s entire platform has matured significantly in the past few years, and is unmatched. From tools to let your whole team remotely moderate your session and collaboratively take notes, to embedding their SDK in your apps, to their collaborative chat and note taking features.
When conducting more standardized usability testing, I have started to pair Lookback with a tool called Maze. This platform lets you standardize and structure tasks “Missions” as they call them and returns a very detailed usability report.
Mobile
Usability tests running off InVision prototypes (or similar) can be embedded into Lookback’s Participate app for iOS and Android. Additionally, if you’re in person, you can just run a usability test on InVision’s mobile app and record users separately using your Mac or another camera.
Remote user testing can also be done through Lookback Live as well as through Zoom video conferences.
- Pro Tip: When conducting usability tests in person, you can record iOS device screens using QuickTime on your Mac. Simply connect your device to your Mac and select File>Record Movie and select your device’s screen as a source.
Card Sorting
Using a digital card sorting tool like OptimalWorkshop’s OptimalSort to work with users directly to conduct card sorting tasks. At the end, you are presented with detailed analytics across sessions that makes digestion and building insights a breeze.
If you want to be able to record and keep a file of the user’s decision making process, using Zoom or another screen recording tool like Lookback.
Next:
- If you haven’t read the section on Evidencing Your Work, start there.